If you have gotten to the point where a cell phone or tablet no longer meets your needs to broadcast a racquetball match, then it is time to start thinking about a budget. You can start small, and then grow into additional equipment, or you can bite the bullet at various levels. Any addition to your broadcast setup will require additional cables and usually another power outlet/plug. I have purposefully left those out, but you can expect to add between $20 and $50 with each major step (audio inputs, video inputs).
One way to build up, would be to follow these steps as money allows:
1) Still use your cell phone but add in a tablet or PC to add commercials/overlays/scoreboards. Streamlabs OBS can bring in your phone’s camera via their mobile app. You will want a laptop or tablet with a dedicated graphics card, so you can spend anywhere from 1,500 to 5,000 if you don’t already have a good “gaming” laptop. I would recommend following the hardware recommendations for vMix, as the resulting laptop or desktop system will always be sufficient for your needs.
Another alternative if you are in the Apple ecosystem and already have multiple iPhones and a recent iPad, is Switcher Studio. This app has a monthly fee, but you can get a single week license. I’ve never invested in that ecosystem, so I can only recommend this on the basis of YouTube influencers. 🙂
2) Improve your audio. You can get an inexpensive audio mixer with USB interface to get a microphone (or two) for your announcer(s) and another court mic for less than $100. {The court mic linked is the one I use. There are 2 in that package, so you can use one for an announcer and put the second into the court to get the court noise. I never used this specific audio mixer, but the price is right if you have to build slowly.}
3) Then when you are ready to start using multiple camera angles, you can get a used unlocked phone from Amazon (ideally that matches the phone you are currently using), and bring them both into Streamlabs OBS. The refurbished fully unlocked Galaxy Note 10 has a great camera and runs in the $220 range.
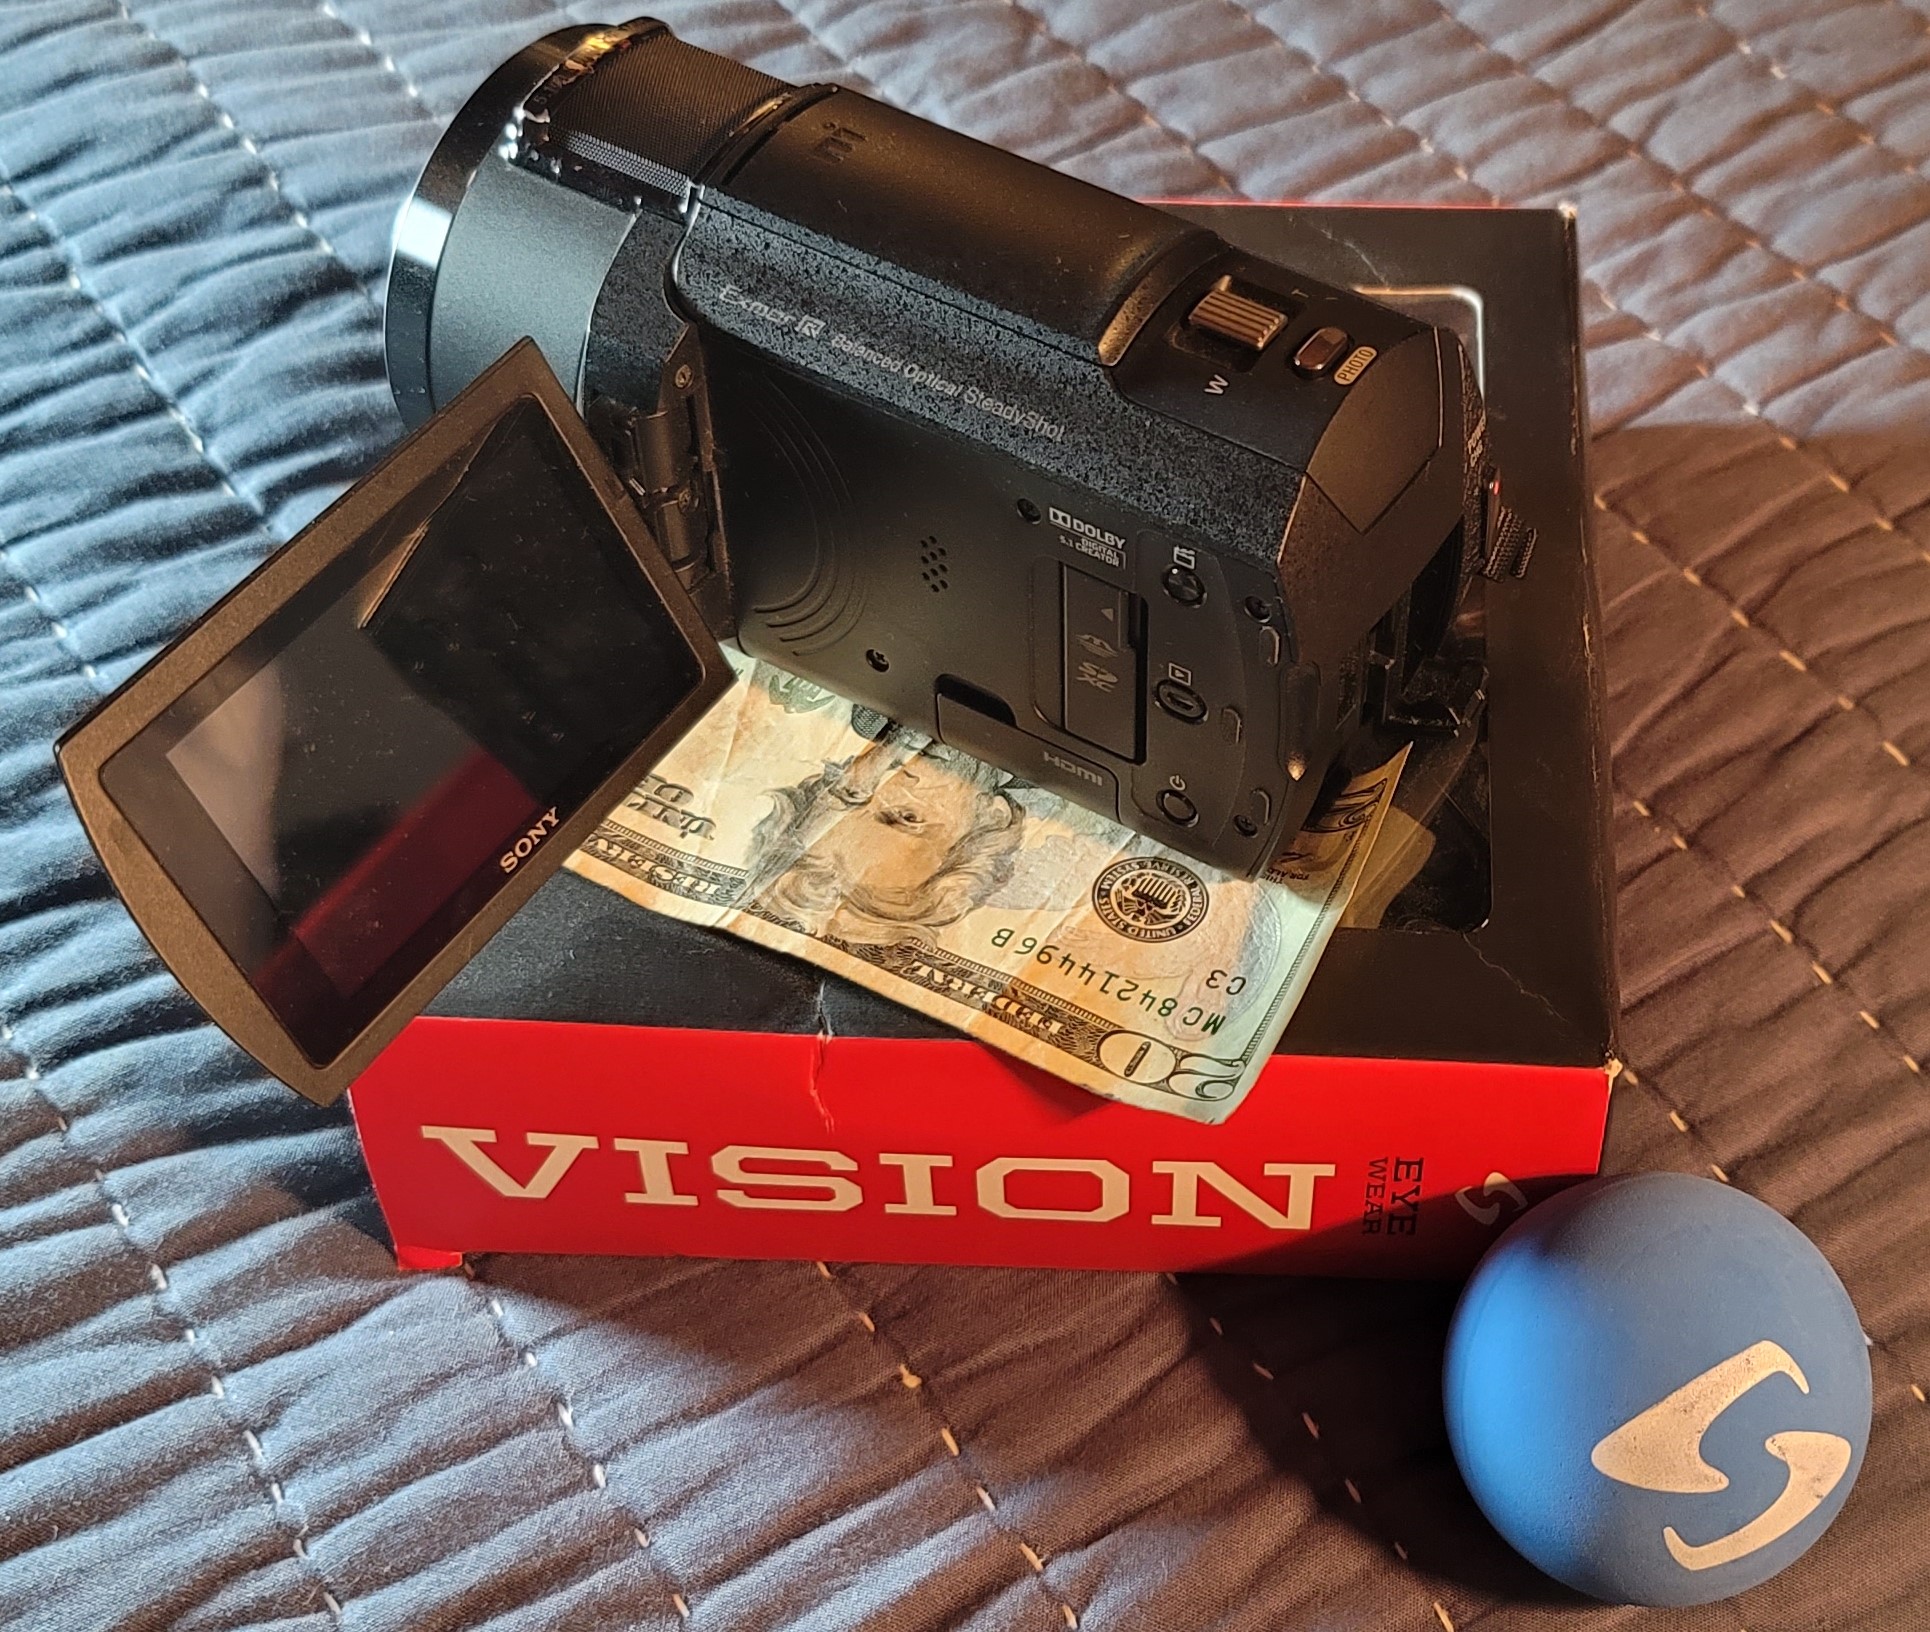
4) Improve your cameras beyond phones. You can use just about any camcorder that does 1920×1080 at 60p or 60 fps. I recommend Sony, I prefer their color science, the court colors are good with the automatic settings on the vast majority of courts. Since this is the budget article, this is the HD version that I would recommend: Sony HDR-CX405 HD Handycam. Since live broadcasts are generally limited to 1920×1080 at 60 fps, this camera will be sufficient and is normally less than $250. Panasonic also makes reliable camcorders in that below $500 price range, but I have personally only used the Sony camcorders. Once you go down this route, you also have to add a capture card (or multiple devices) in order to bring in each camera feed. This is the most expensive investment when you get to this stage. The Elgato CamLink 4K is probably the best mix of price and performance, since you would need one for each camera. So now that $250 camera costs $375 to bring into your PC. Since you know that you want multiple cameras you can go with an ATEM Mini Pro instead as it will connect up to 4 cameras and will also act as the capture card so its $295 price puts you ahead of buying multiple CamLinks and needing multiple high speed USB ports on your computer.
5) Go wireless. When you get to the stage where you want to run multiple cameras into your broadcast, you will find that the HDMI cables available are either very short, or very expensive for the distance you need to go from your setup to the court. I would recommend only going wireless if you take all of your cameras wireless at the same time. This about a $1,500 step for 3 cameras. I use the Hollyland Mars 300 Pro as the 0.08 second latency is consistent across the 3 cameras. You can spend a lot more at this point, and drop that latency down to 0.06 or less, but that is really only needed if your cameras are pointed at a person’s face that is talking. If you don’t have your commentators onscreen, then you don’t have to worry about it. You do need to set your audio to be delayed in OBS or vMix (or in an ATEM Mini), usually 6-12 frames with 60 frames per second cameras.
An alternative that is simpler than using/learning OBS or vMix or another full-fledged live streaming production software, would be to buy a Yolobox Pro for less than the cost to buy a dedicated gaming laptop to serve as your streaming device. This device allows you to connect up to 3 HDMI cameras without having to buy a switcher (ATEM Mini) or capture card (CamLink). Keeping these expenses out is definitely a good option if you are forced to choose between buying a new laptop (and extra needed hardware) or buying a single dedicated device that does the job well. The Yolobox Pro includes graphic overlays, a scoreboard, and an instant replay feature. It will also allow you to add videos that you can play during timeouts and between games via an SD card. (I do not recommend the original Yolobox the processor was unable to handle 60 fps, nor do I recommend the Yolobox Mini as it only handles 1 HDMI input.) If you go this route instead of the laptop route, you will want a different audio mixer when you expand your microphones beyond the first (since you won’t need the USB feature) and those can still be found for less than $80. If I hadn’t needed to support the LPRT streaming style, then this is the path I would have taken. (I did actually head down this path first with the original Yolobox and found it to be inadequate.)
Let us know if you have specific questions about how to implement any of these steps or if you would like a second opinion on equipment that you are considering to add to your broadcast. We can even review an Amazon wish list to ensure that you are getting the cables you need to make everything work together.


